
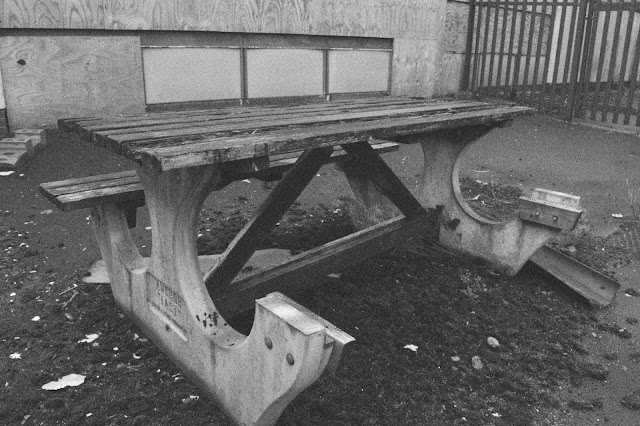

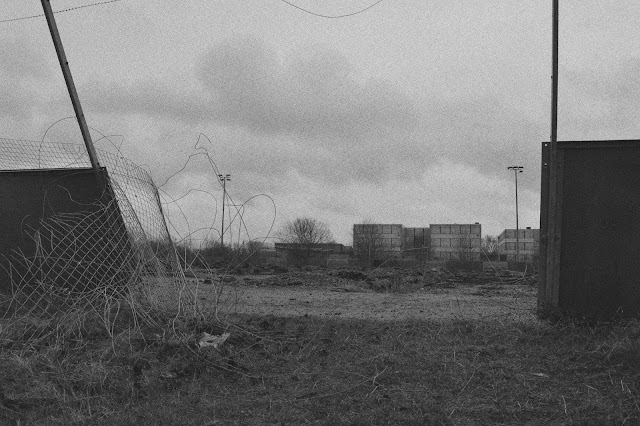
I have made use of converting my images to black and white in Photoshop, as well as adding noise to give the images a gritty atmosphere. I converted to black and white by selecting the black and white adjustment in the adjustments panel above the layers box, then added noise by going to filter>noise> add noise, then dragging the percentage slider to my desired amount.
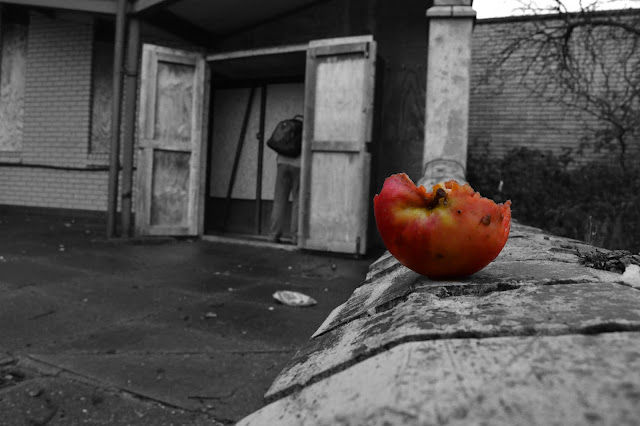
I also made use of selective colourisation. I created this image by using the quick select tool, then selecting the part I wanted to remain in colour. I did selected layer>invert, which inverted the selection so that when I converted to black and white, my desired area would remain in colour.
Another Photoshop technique I used is HDR. To create my HDR images, I shot in Camera RAW format and used auto bracketing on my camera, setting it to two steps. To merge each set of three images together to create one, I opened them in photoshop and selected file>automate>merge to HDR pro, making adjustments to brightness and contrast in HDR menu.
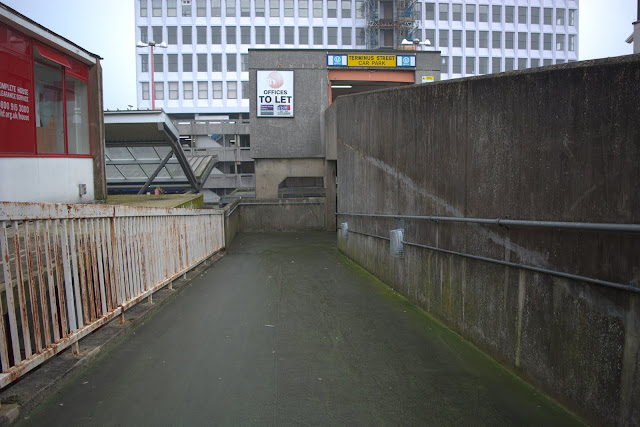
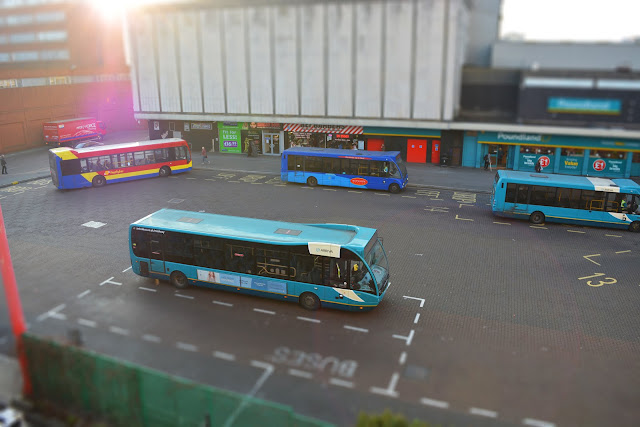
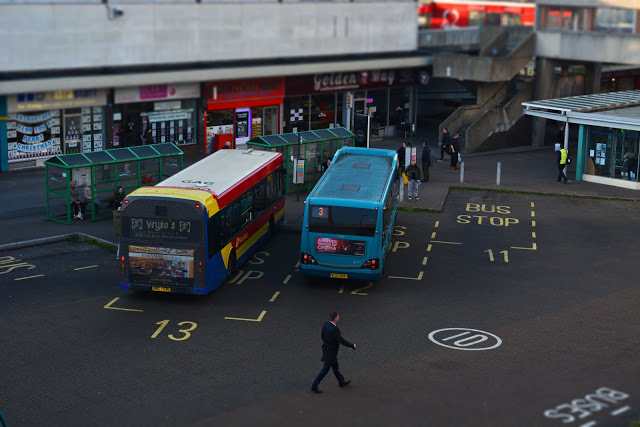
 I have also experimented with the use of tilt shift filters to create miniature style effects from my low angle landscape shots. I shot images of a busy bus terminal from the top of a car park. Once I opened them in Photoshop, I went into filter>blur gallery>tilt shift, then set the blur threshold so that the people and buses in the images in focus and the area around them is blurred, making them appear as if they are miniatures. Tutorial here.
From my first two shoots, I created some stop motion animations, one of which can be seen below. I captured the pictures while shooting on continual shoot mode on a moving boat and created the video file in Adobe Premier Pro. I dragged all of the images onto a video timeline in the program, the right clicked the timeline and selected speed/duration and dragged the duration of each picture to be one frame per image. I then rendered and exported the project as a .MOV file. Video tutorial of this method can be seen here.

No comments:
Post a Comment